Duct Tape Floggers
 Guest post by adminion!
Besides their loud, attention-grabbing sound and unique sensation, one of the best parts of duct tape floggers is they can be easily cleaned with antiseptic for use with multiple partners.
Supplies
Scissors
Exacto or Box Cutter
Cutting Mat
Yardstick (ideally metal)
Flogger handles of your choice (this will not cover handle construction)
Duck Max Strength® Brand Duct Tape or similar (standard duct tape is designed to tear easily by hand – avoid low quality tapes)
Quick n’ Dirty Method
Tape selection, ambient temperature, and skill can make freehanding a difficult option, but this is the most common way. If it’s not working out, or you want cleaner lines, switch to the Precise Method.
Fold 20 strips of duct tape into thirds, then skip to Step 8 in Precise Method below. Length is your choice. I did about 21 inches. Note that you will lose about an inch in production.

Precise Method
Workspace
Use any thick tape to prepare a duct tape jig as shown:
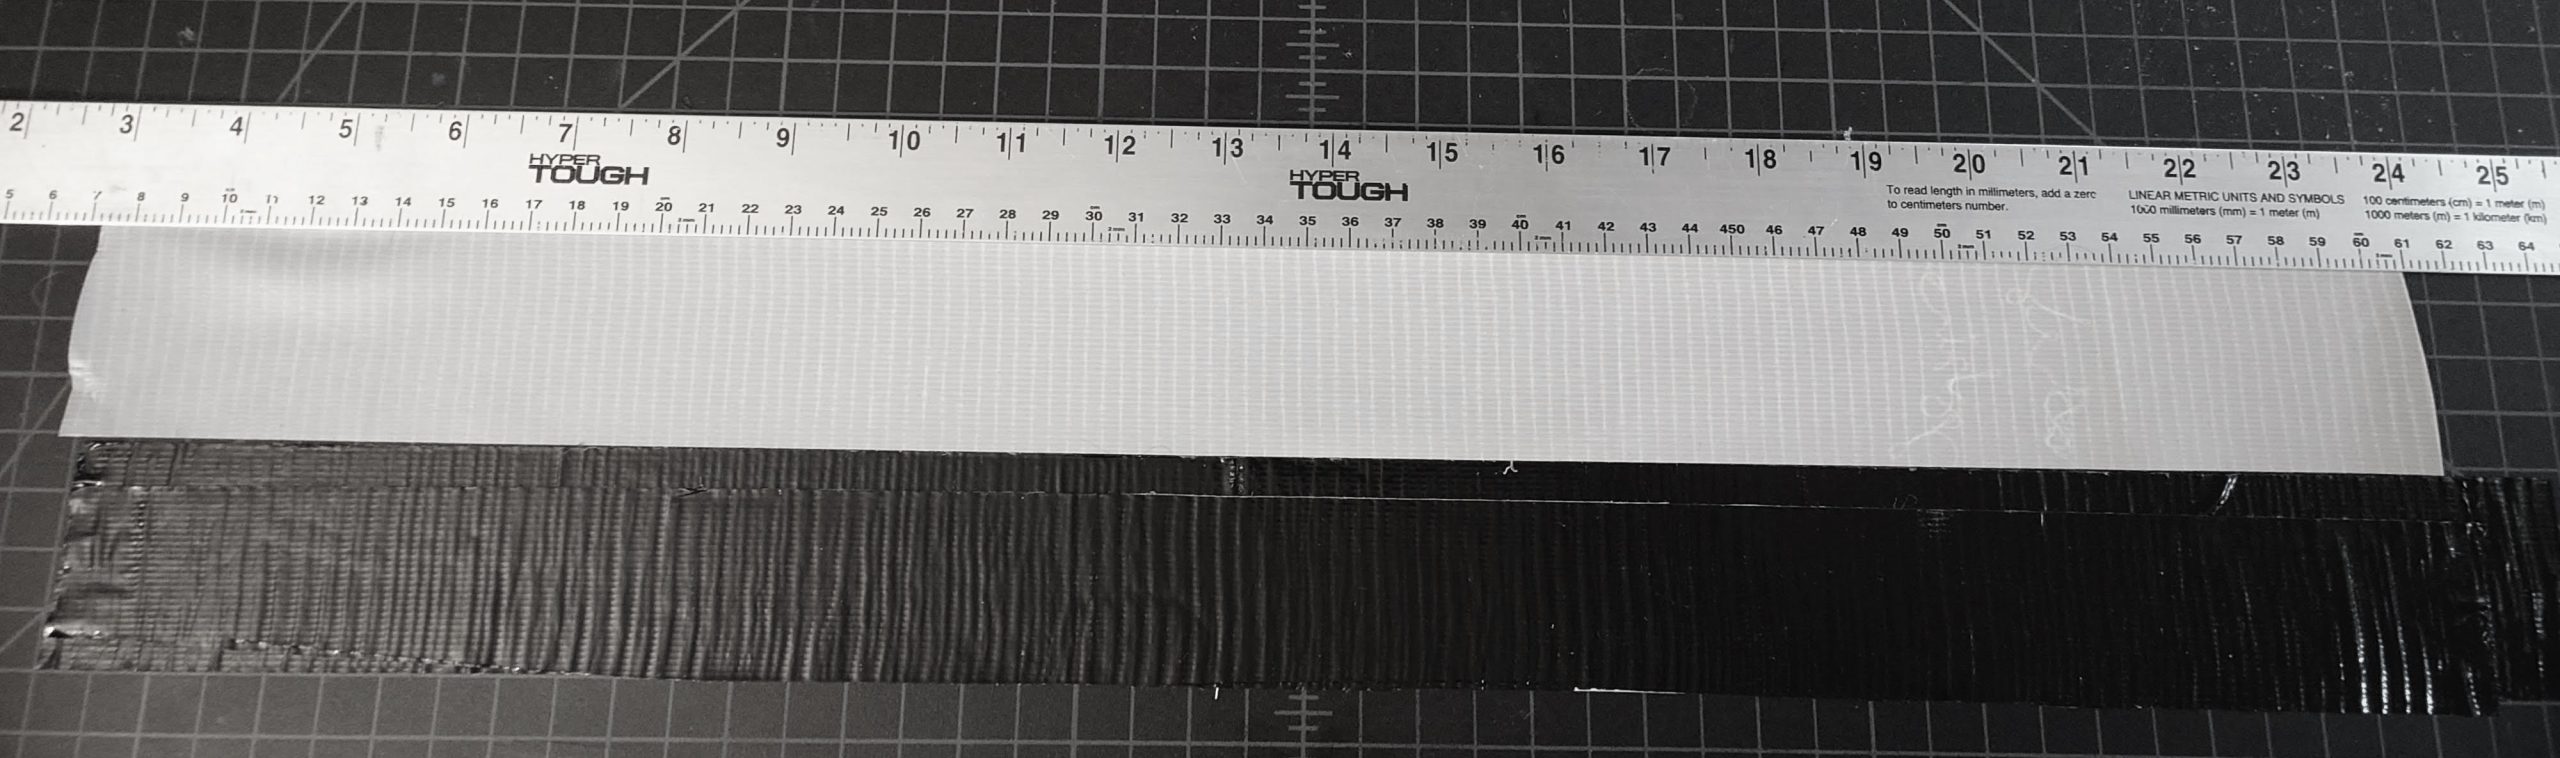
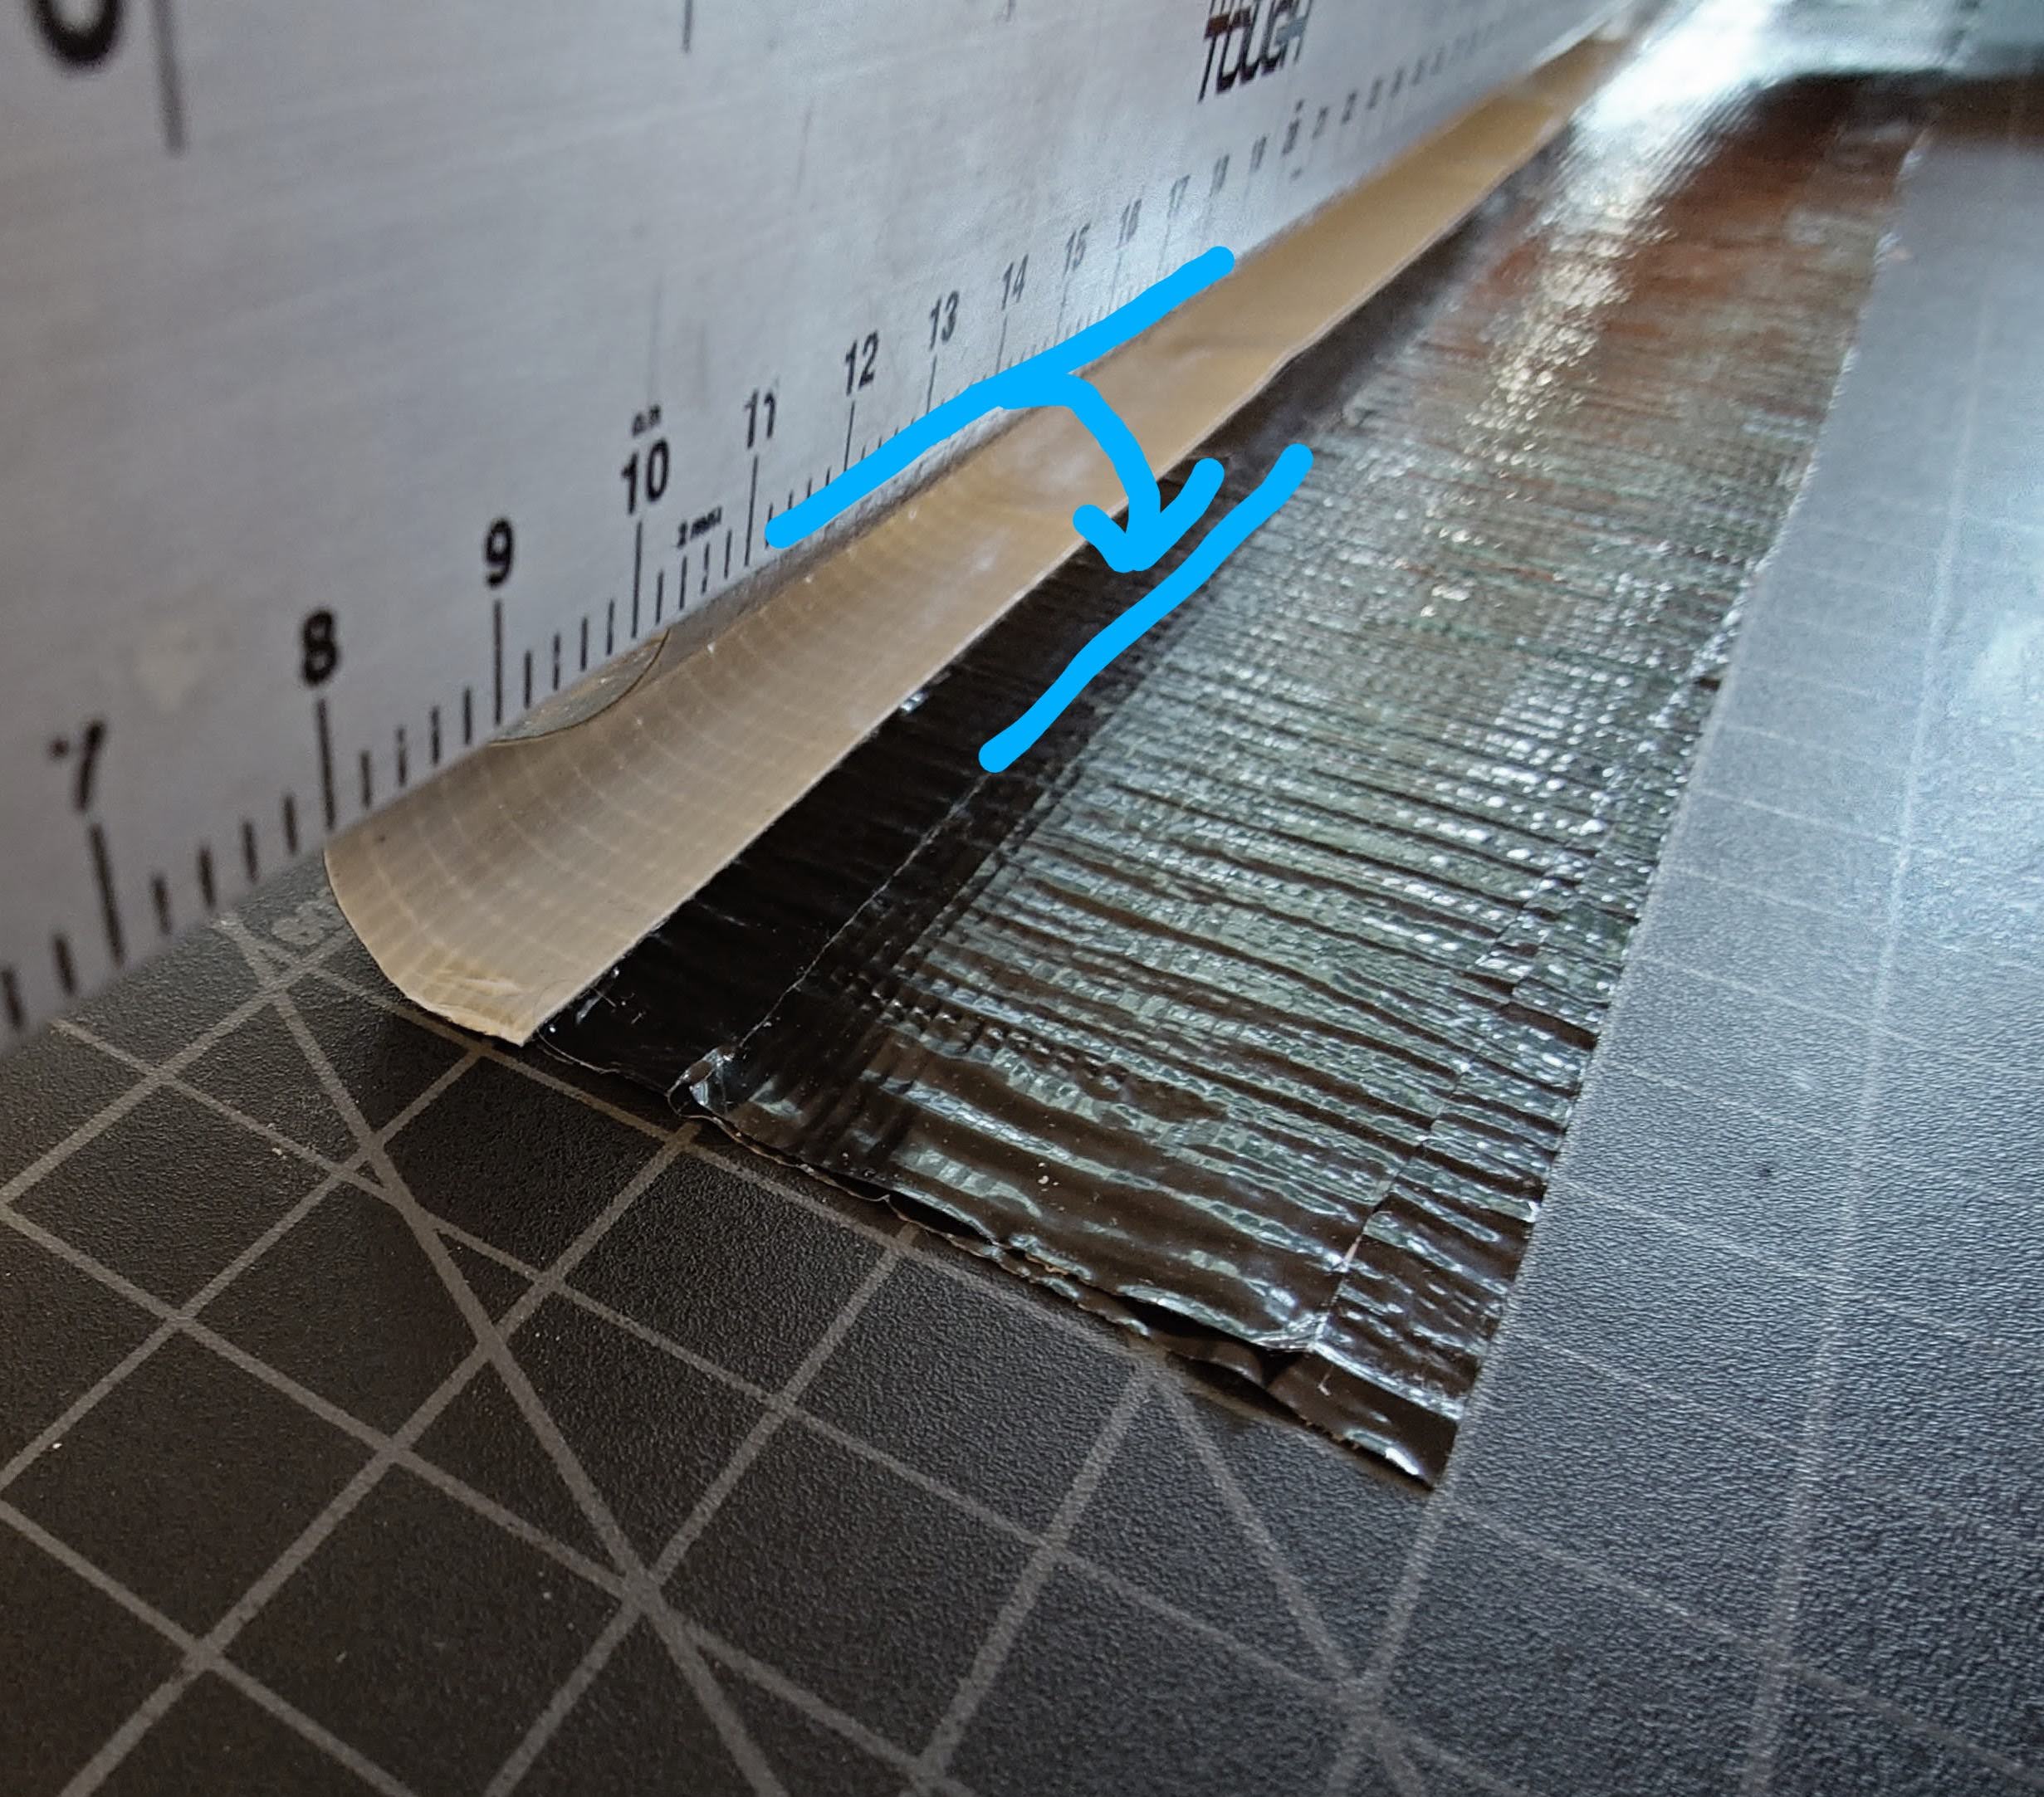
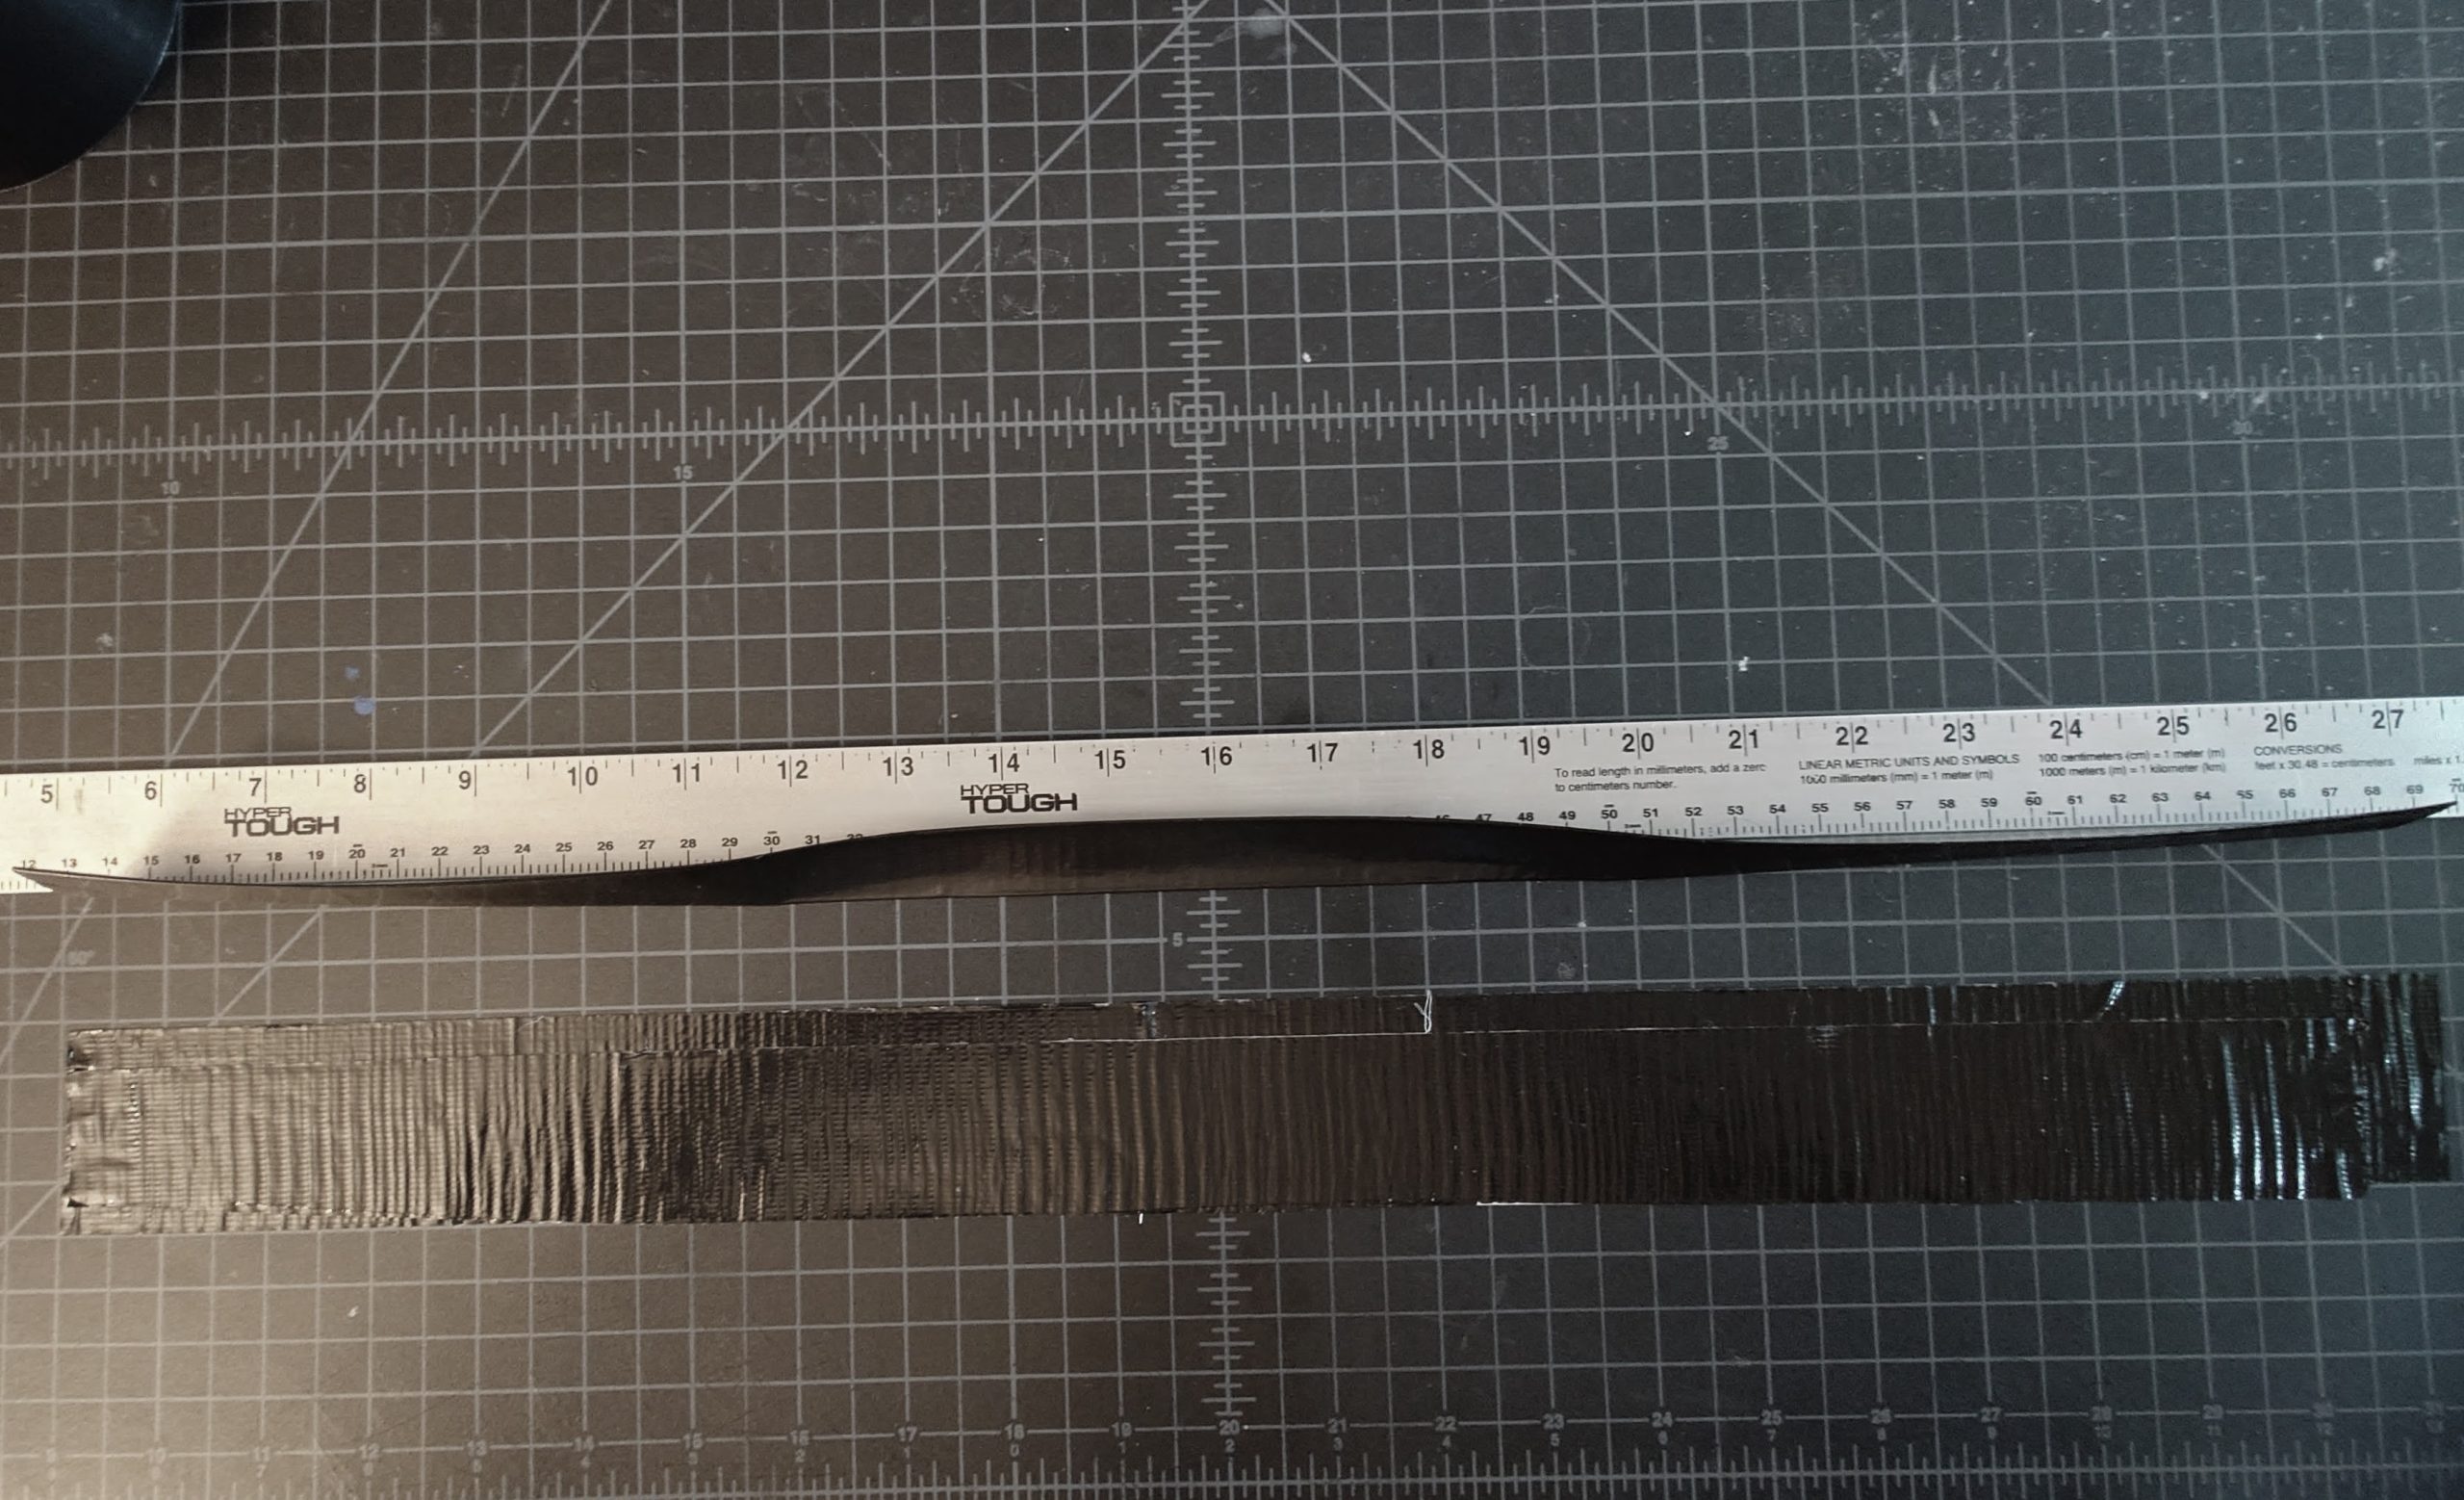
Lay down a piece of tape the desired length of your falls to aid measurement (mine are about 21 inches / 54cm), then mark a line about 9mm inward.
I just used a second piece of tape to mark it. Only the top edge and the 9mm measurement are what’s important.

Once your workspace is prepped, let’s go!
 Step 1: Measure and cut a strip of duct tape for your first fall, giving a few extra millimeters for safety. Attach the length to your yardstick, just barely on the edge.
 Step 2: Catch the free edge of your tape on the jig, as shown.
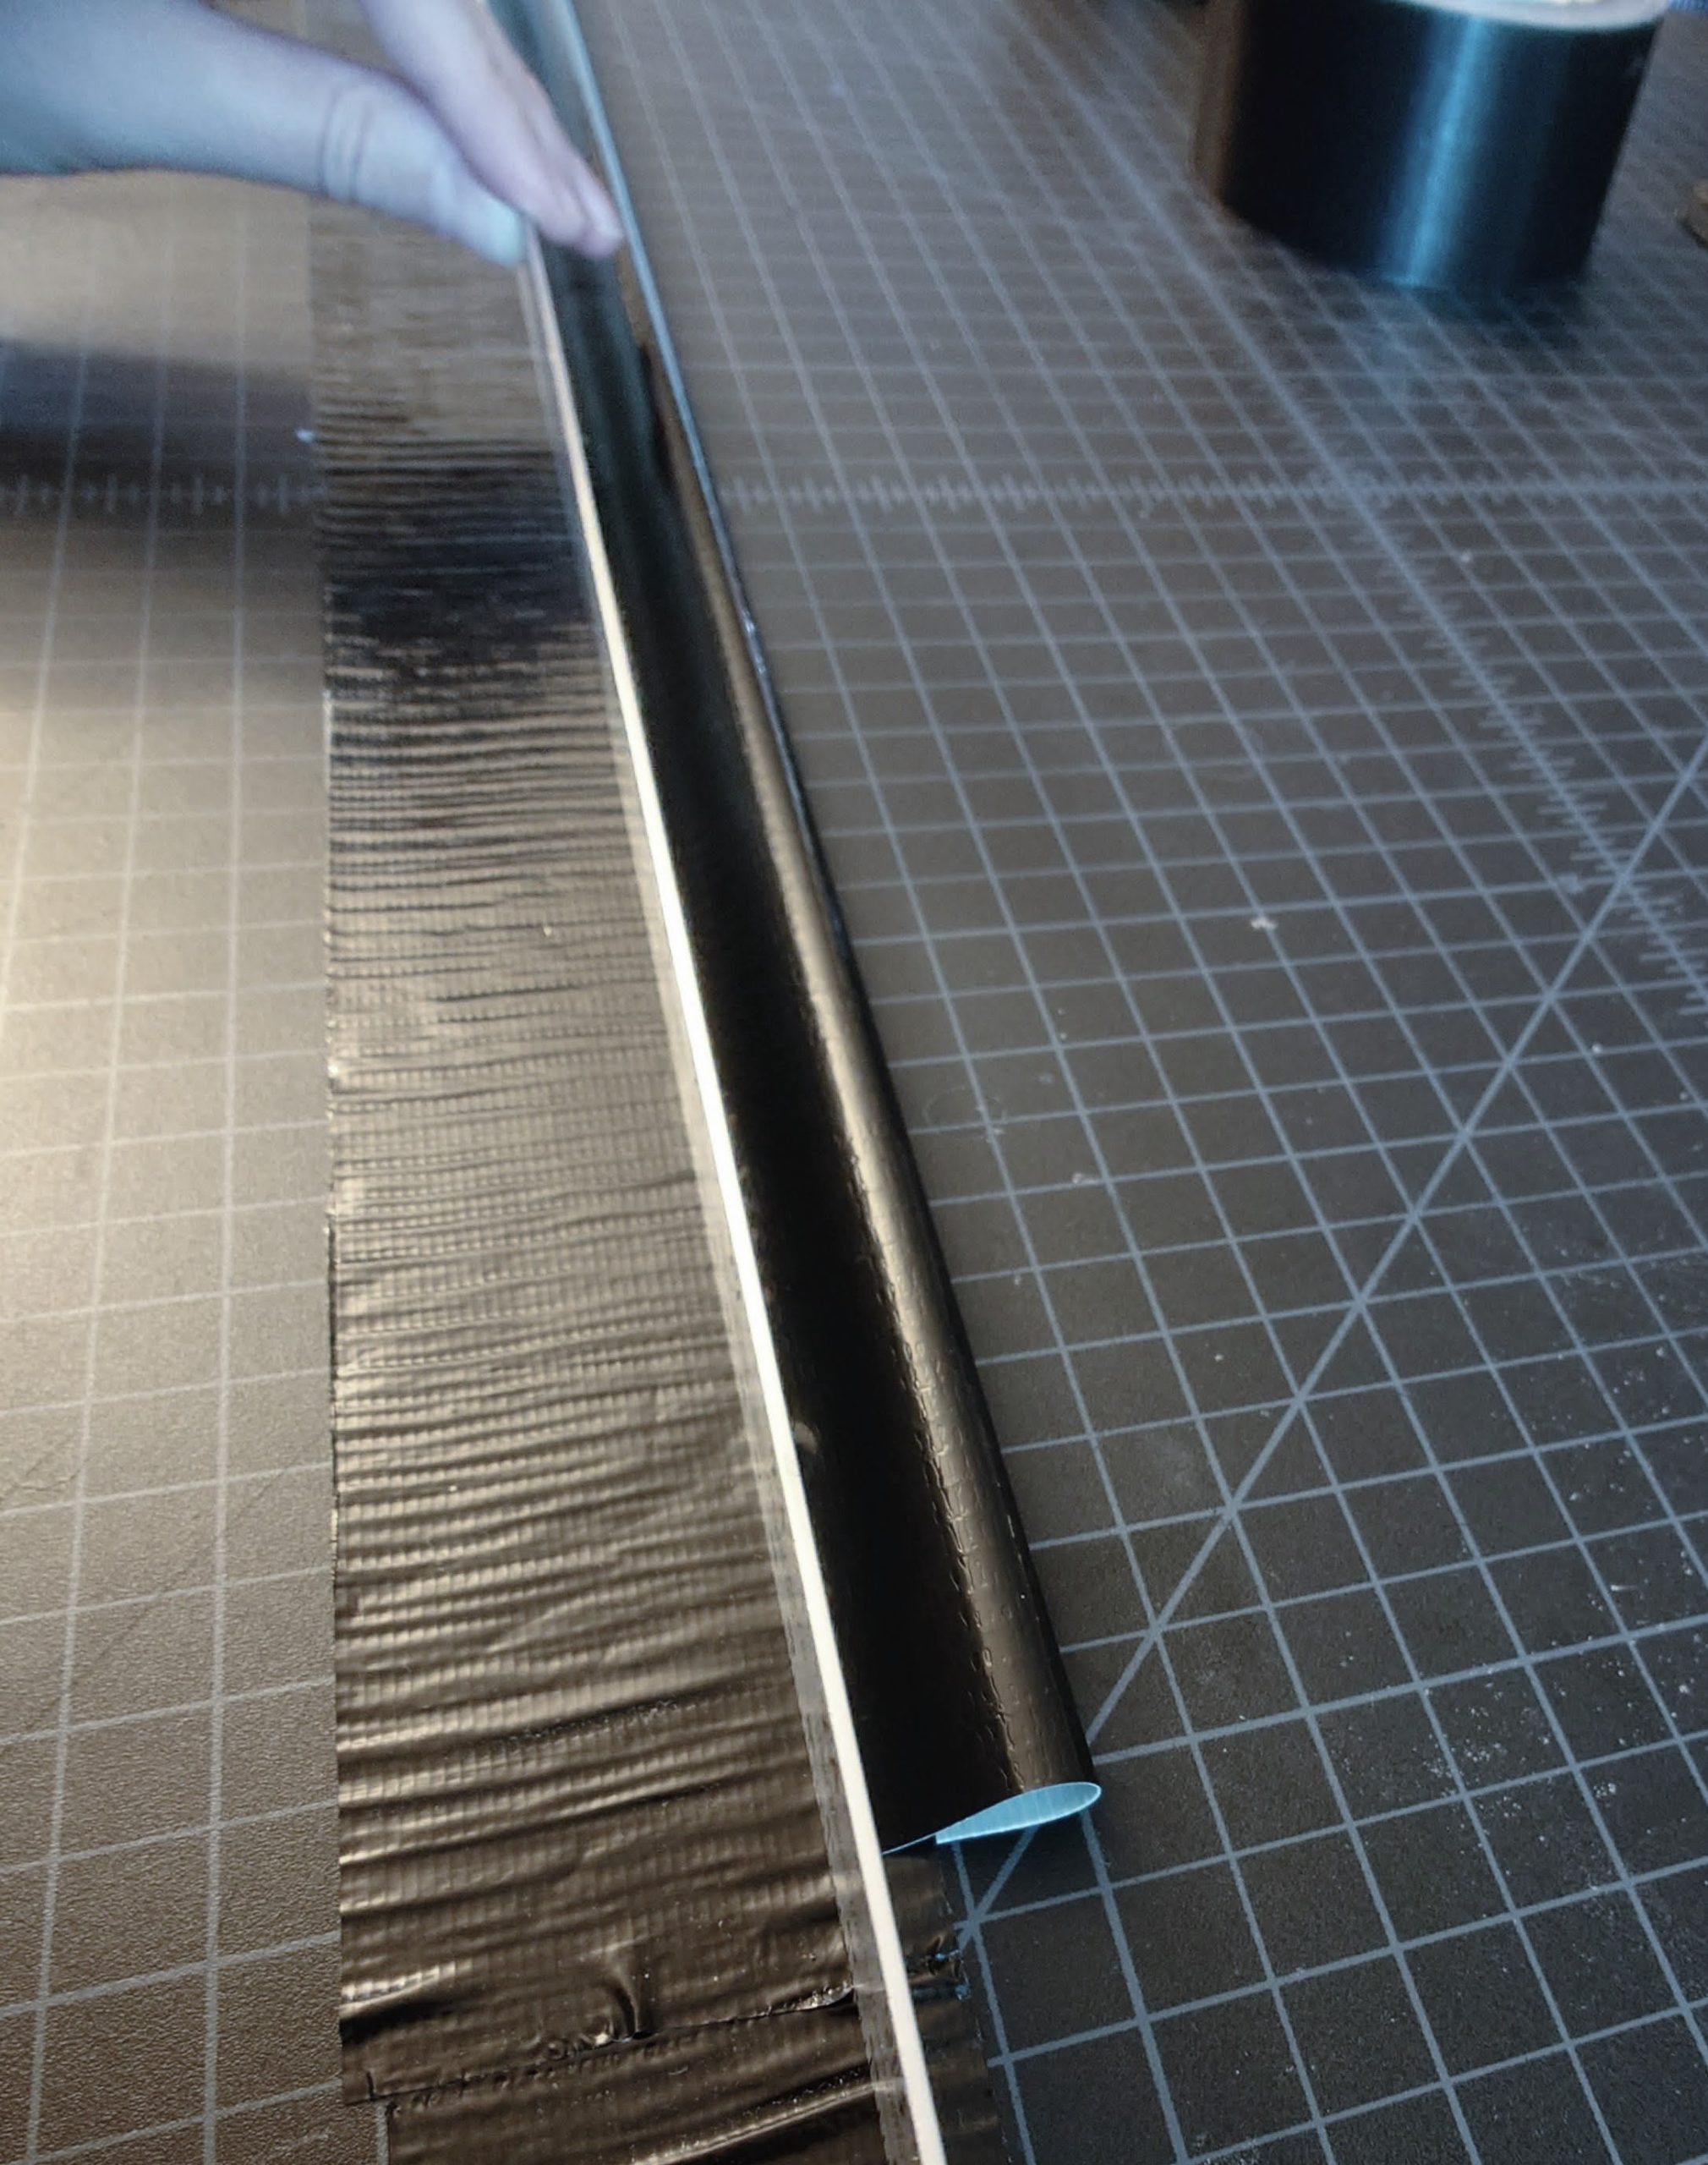
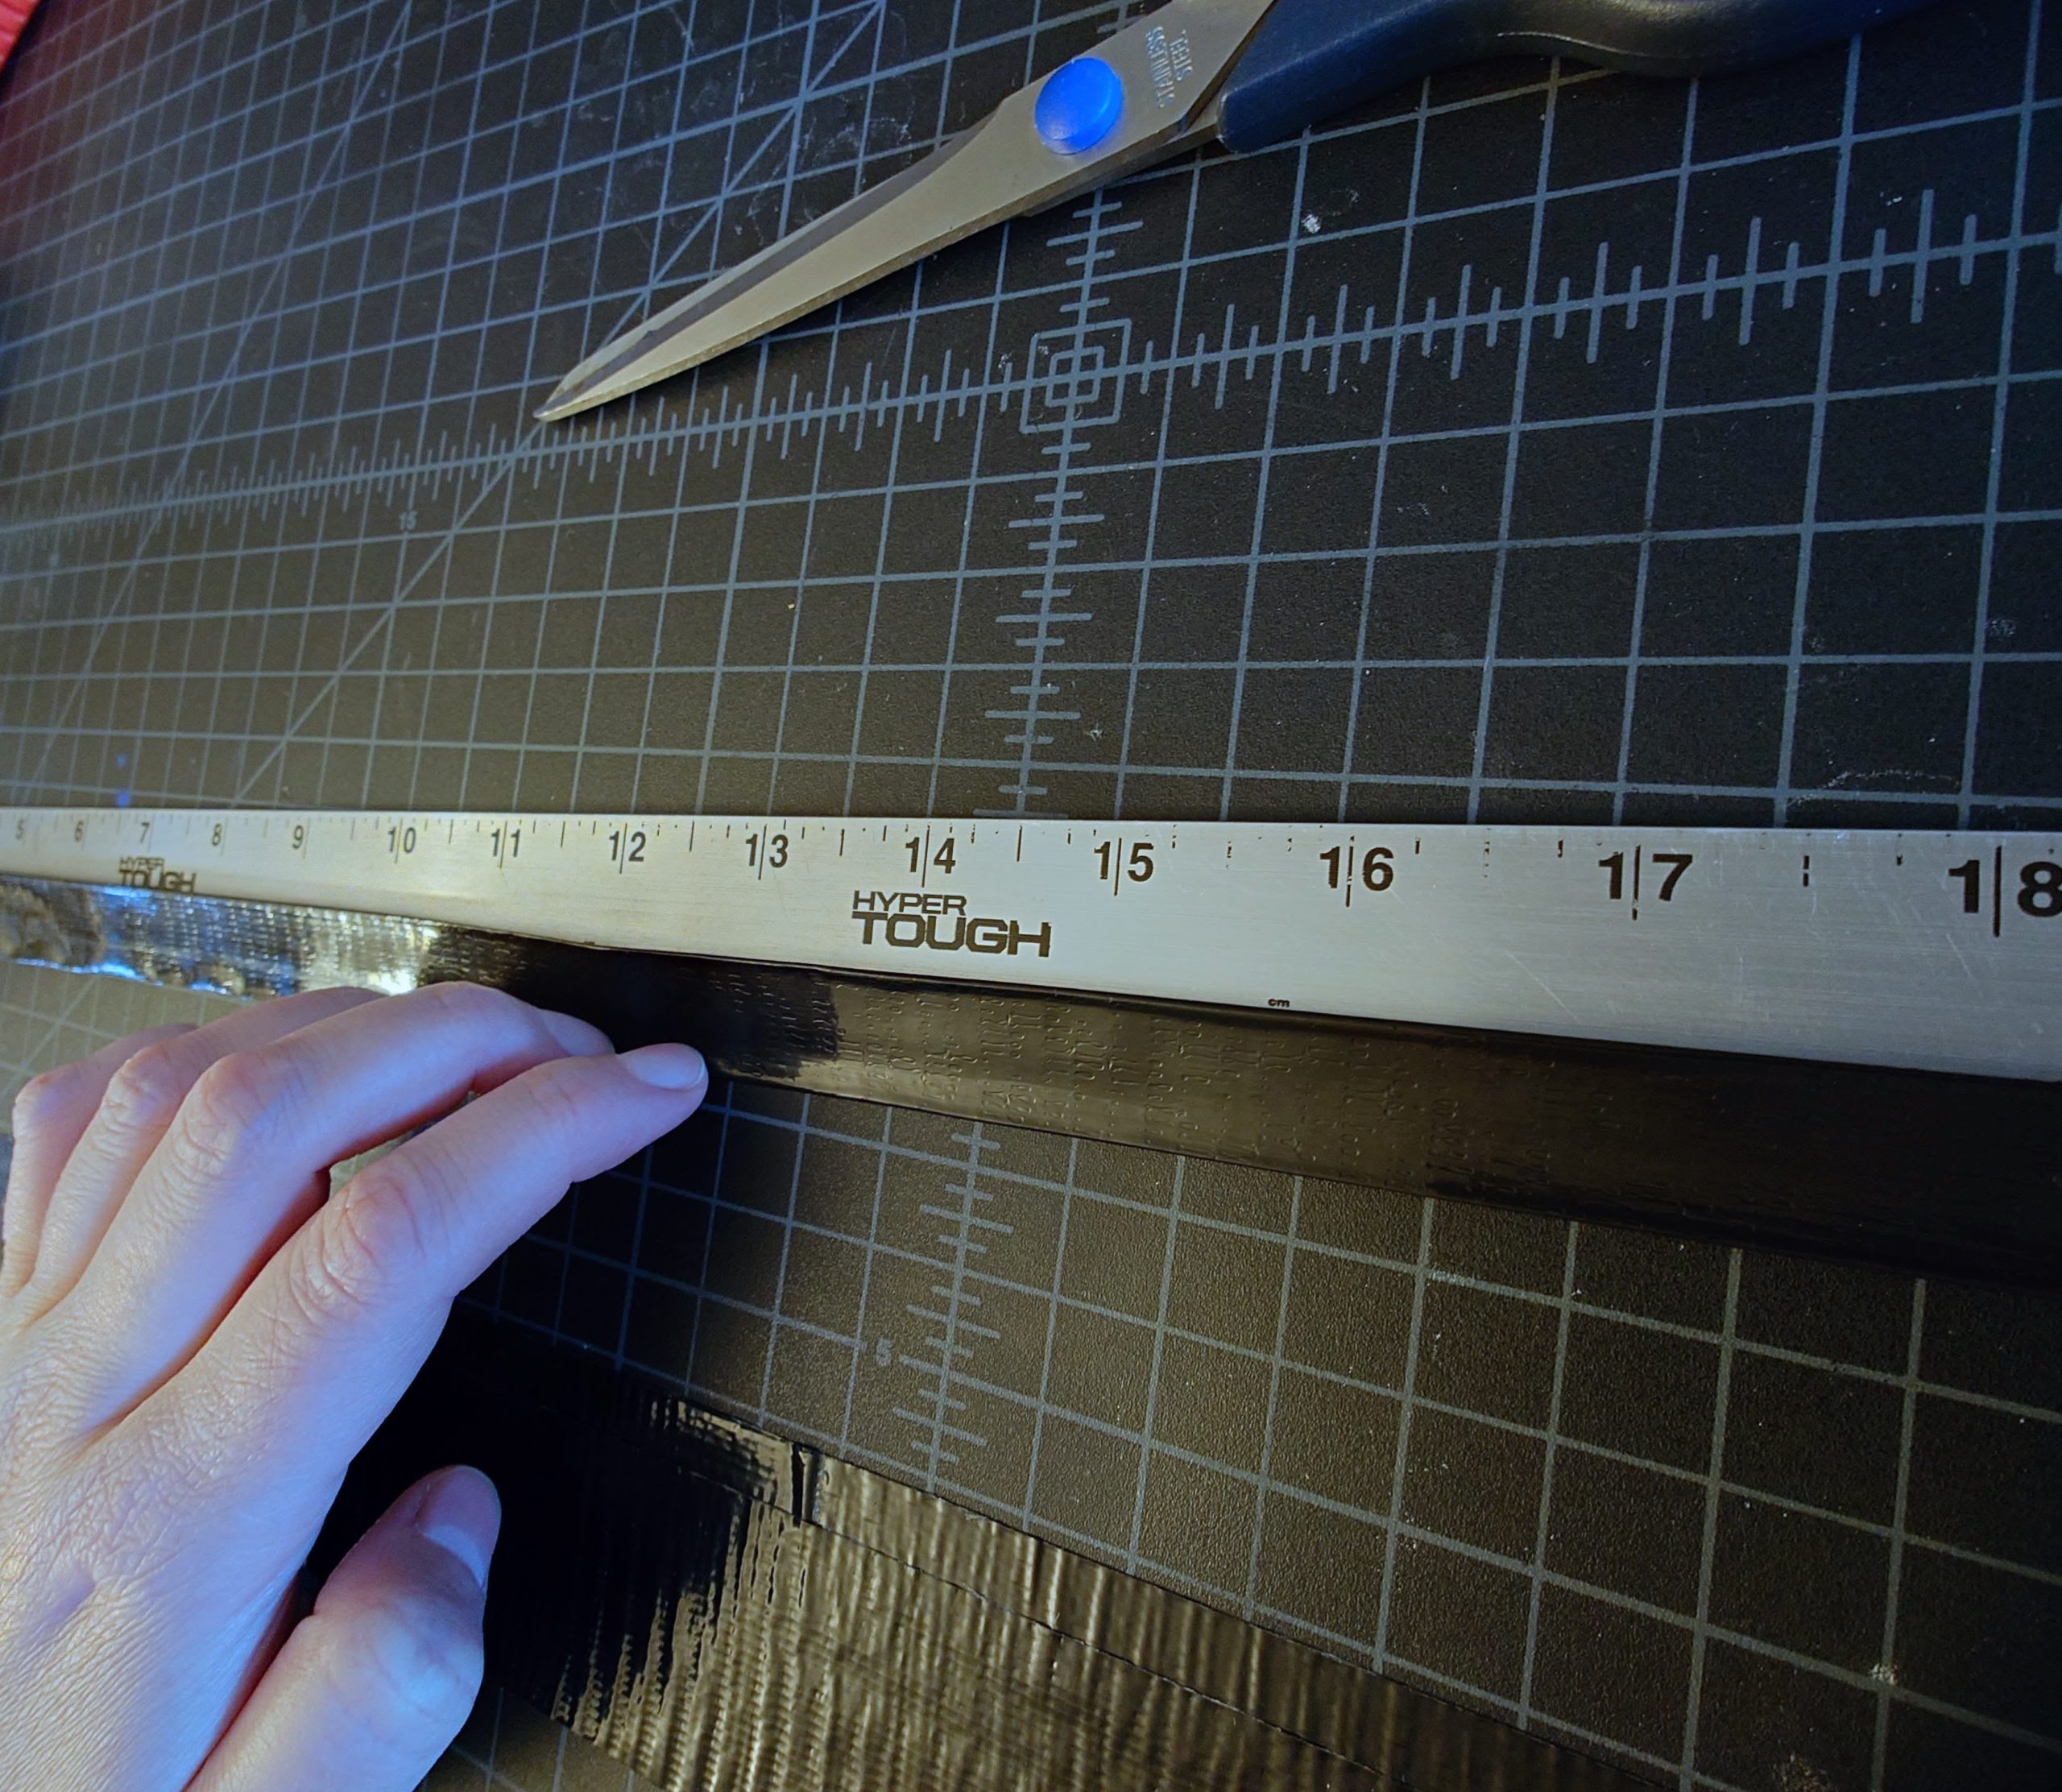
 Step 3: This is the trickiest step. Bend the tape over. Align the bottom side of the yardstick with the 9mm line you marked, perpendicular to the mat, and press down. This may take practice to get straight and at a suitable distance. Thicker yardsticks will need adjustment. Don’t feel bad if it takes a couple tries.
 Step 4: Now that you’ve made this loop, you want to flatten and crease it. I start along the ruler and gradually begin flattening towards the rounded side. When I’m ready to crease the rounded side, I start at the middle and work outward to avoid air bubbles. If you do get bubbles, gently prick them with your knife or a pin.
 Step 5: Keep the fall attached to the yardstick, but unstick it from the jig and cutting mat. You should now have one nicely creased edge, with the unfinished edge stuck to the yardstick. Start the second fold as shown, using the inside edge of the tape as a folding guide. You should be able to feel the inside edge as you fold around it.
This crease is much easier to finish without air bubbles, because you start at the fold and work towards the ruler.
 Step 6: Peel the fall away from the yardstick, then tidy up the creases and edges.
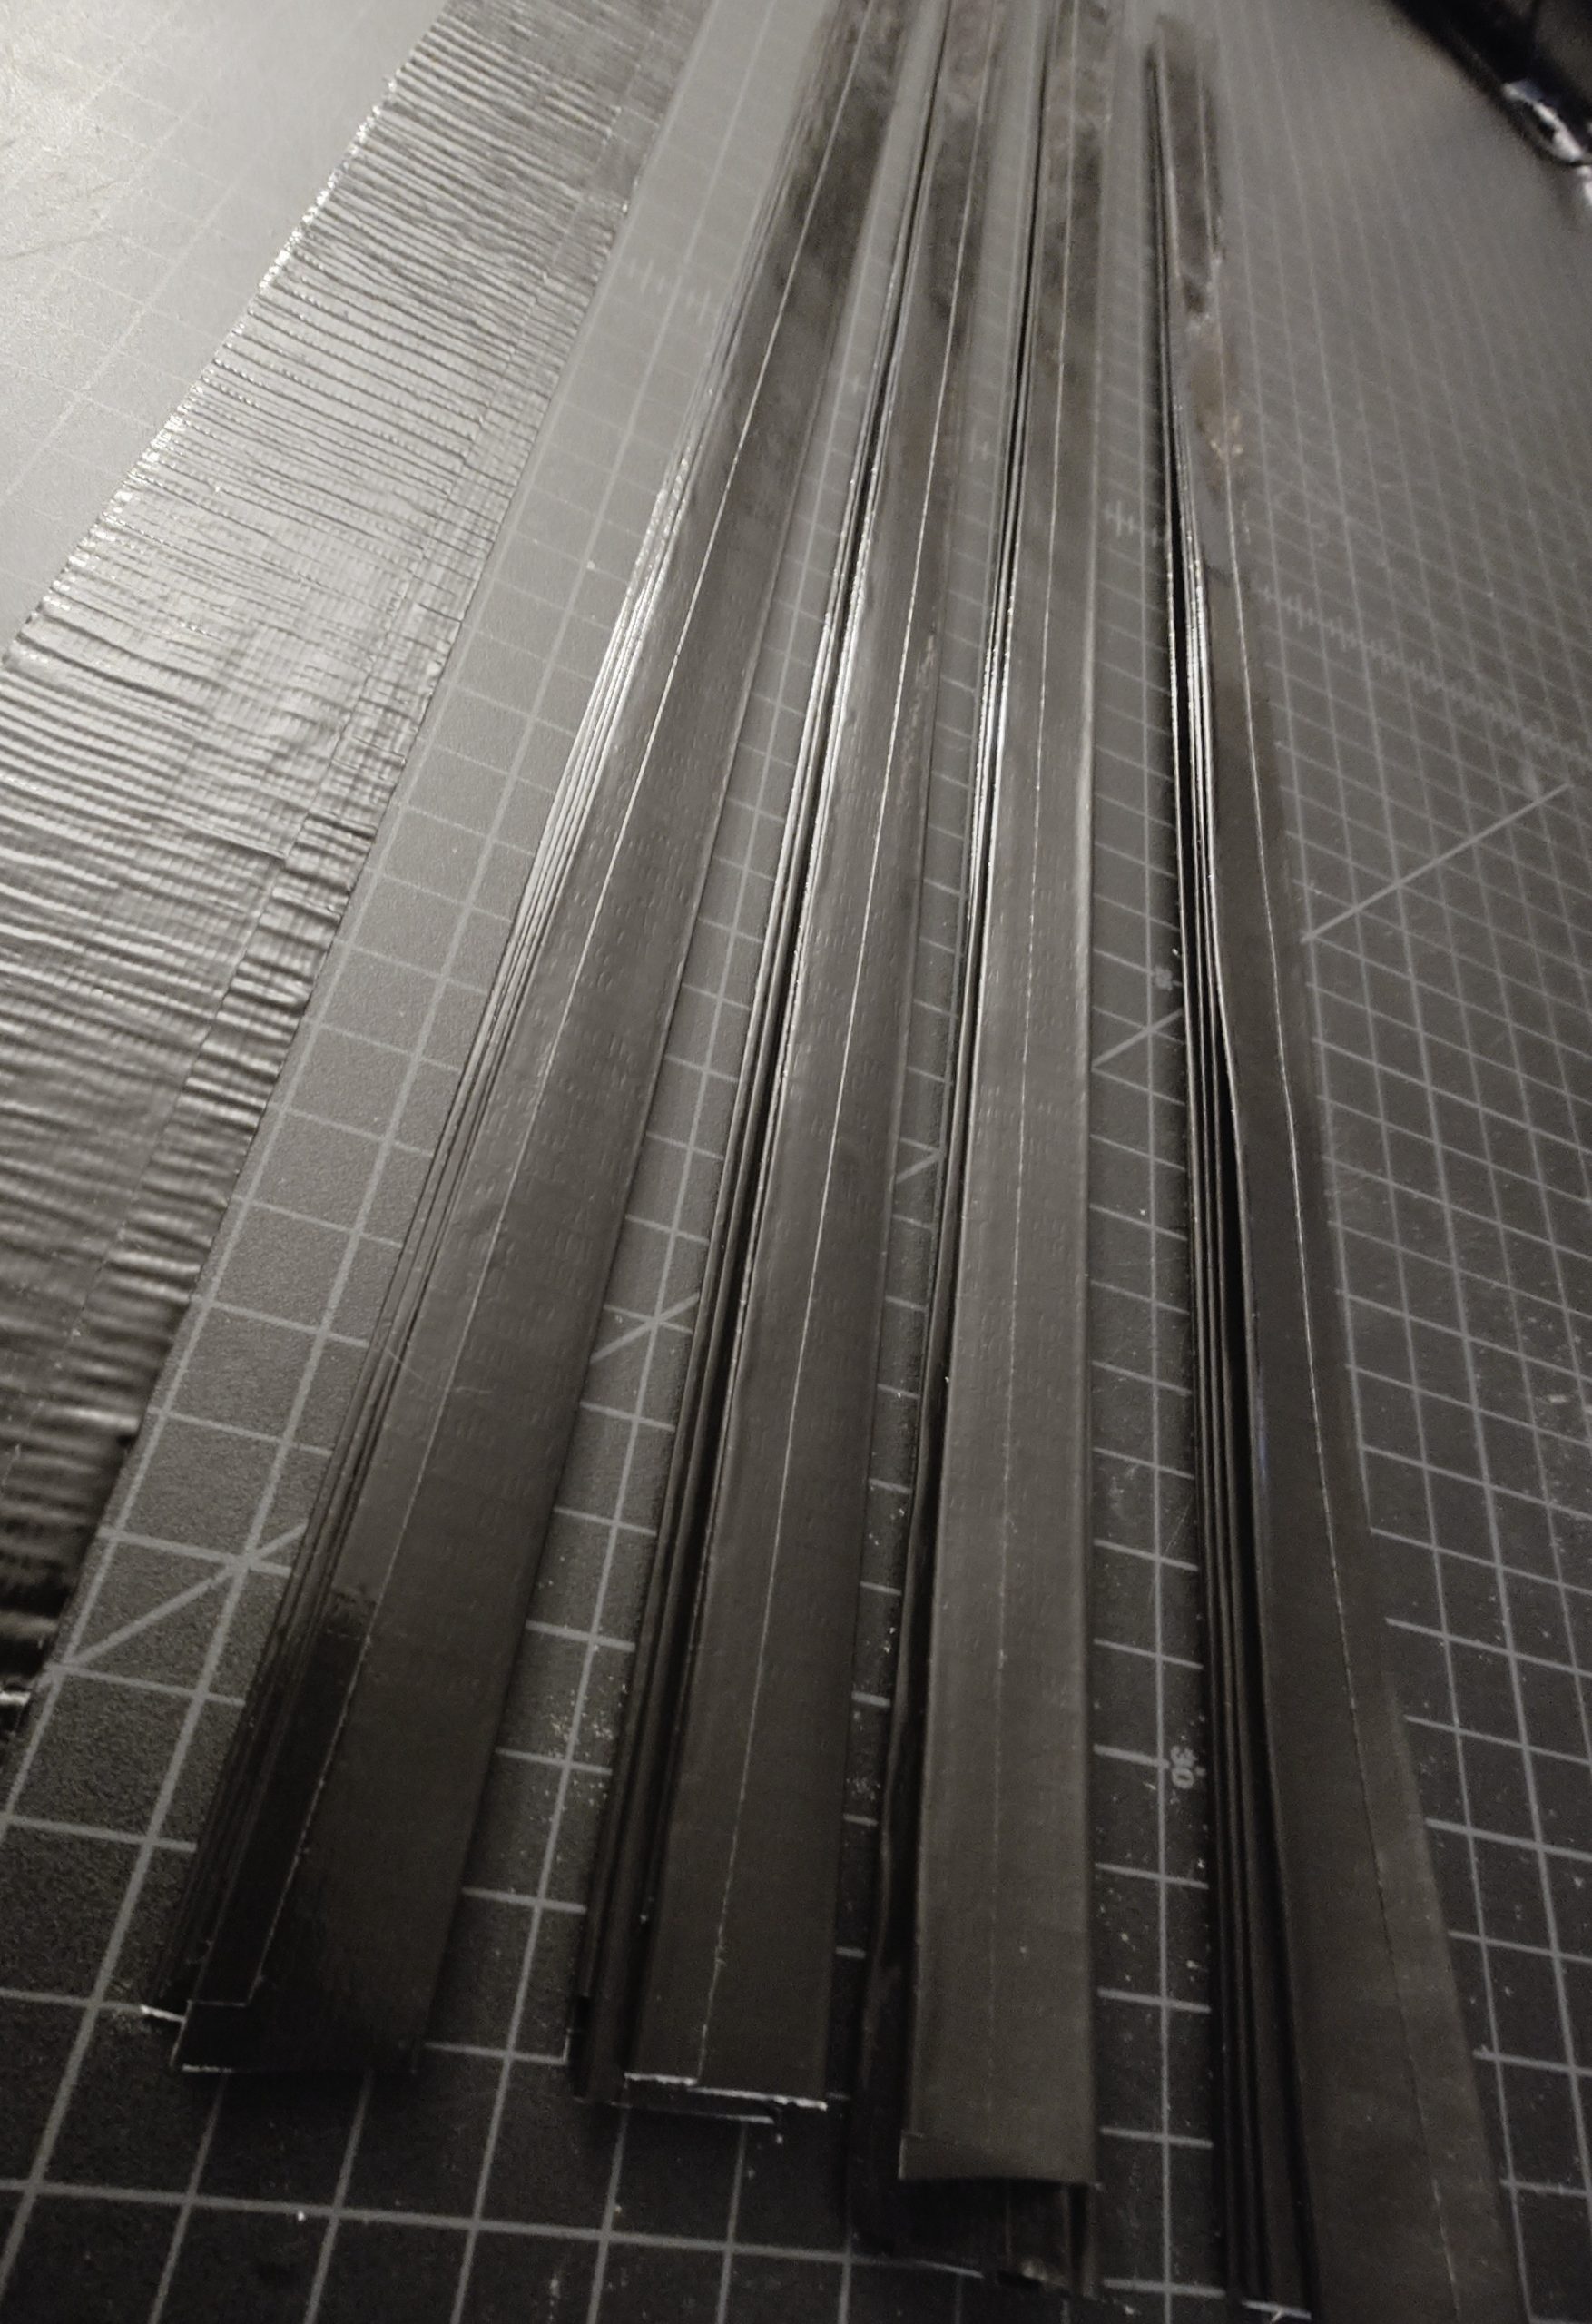 Step 7: Repeat Steps 1-6 to create 20 falls.
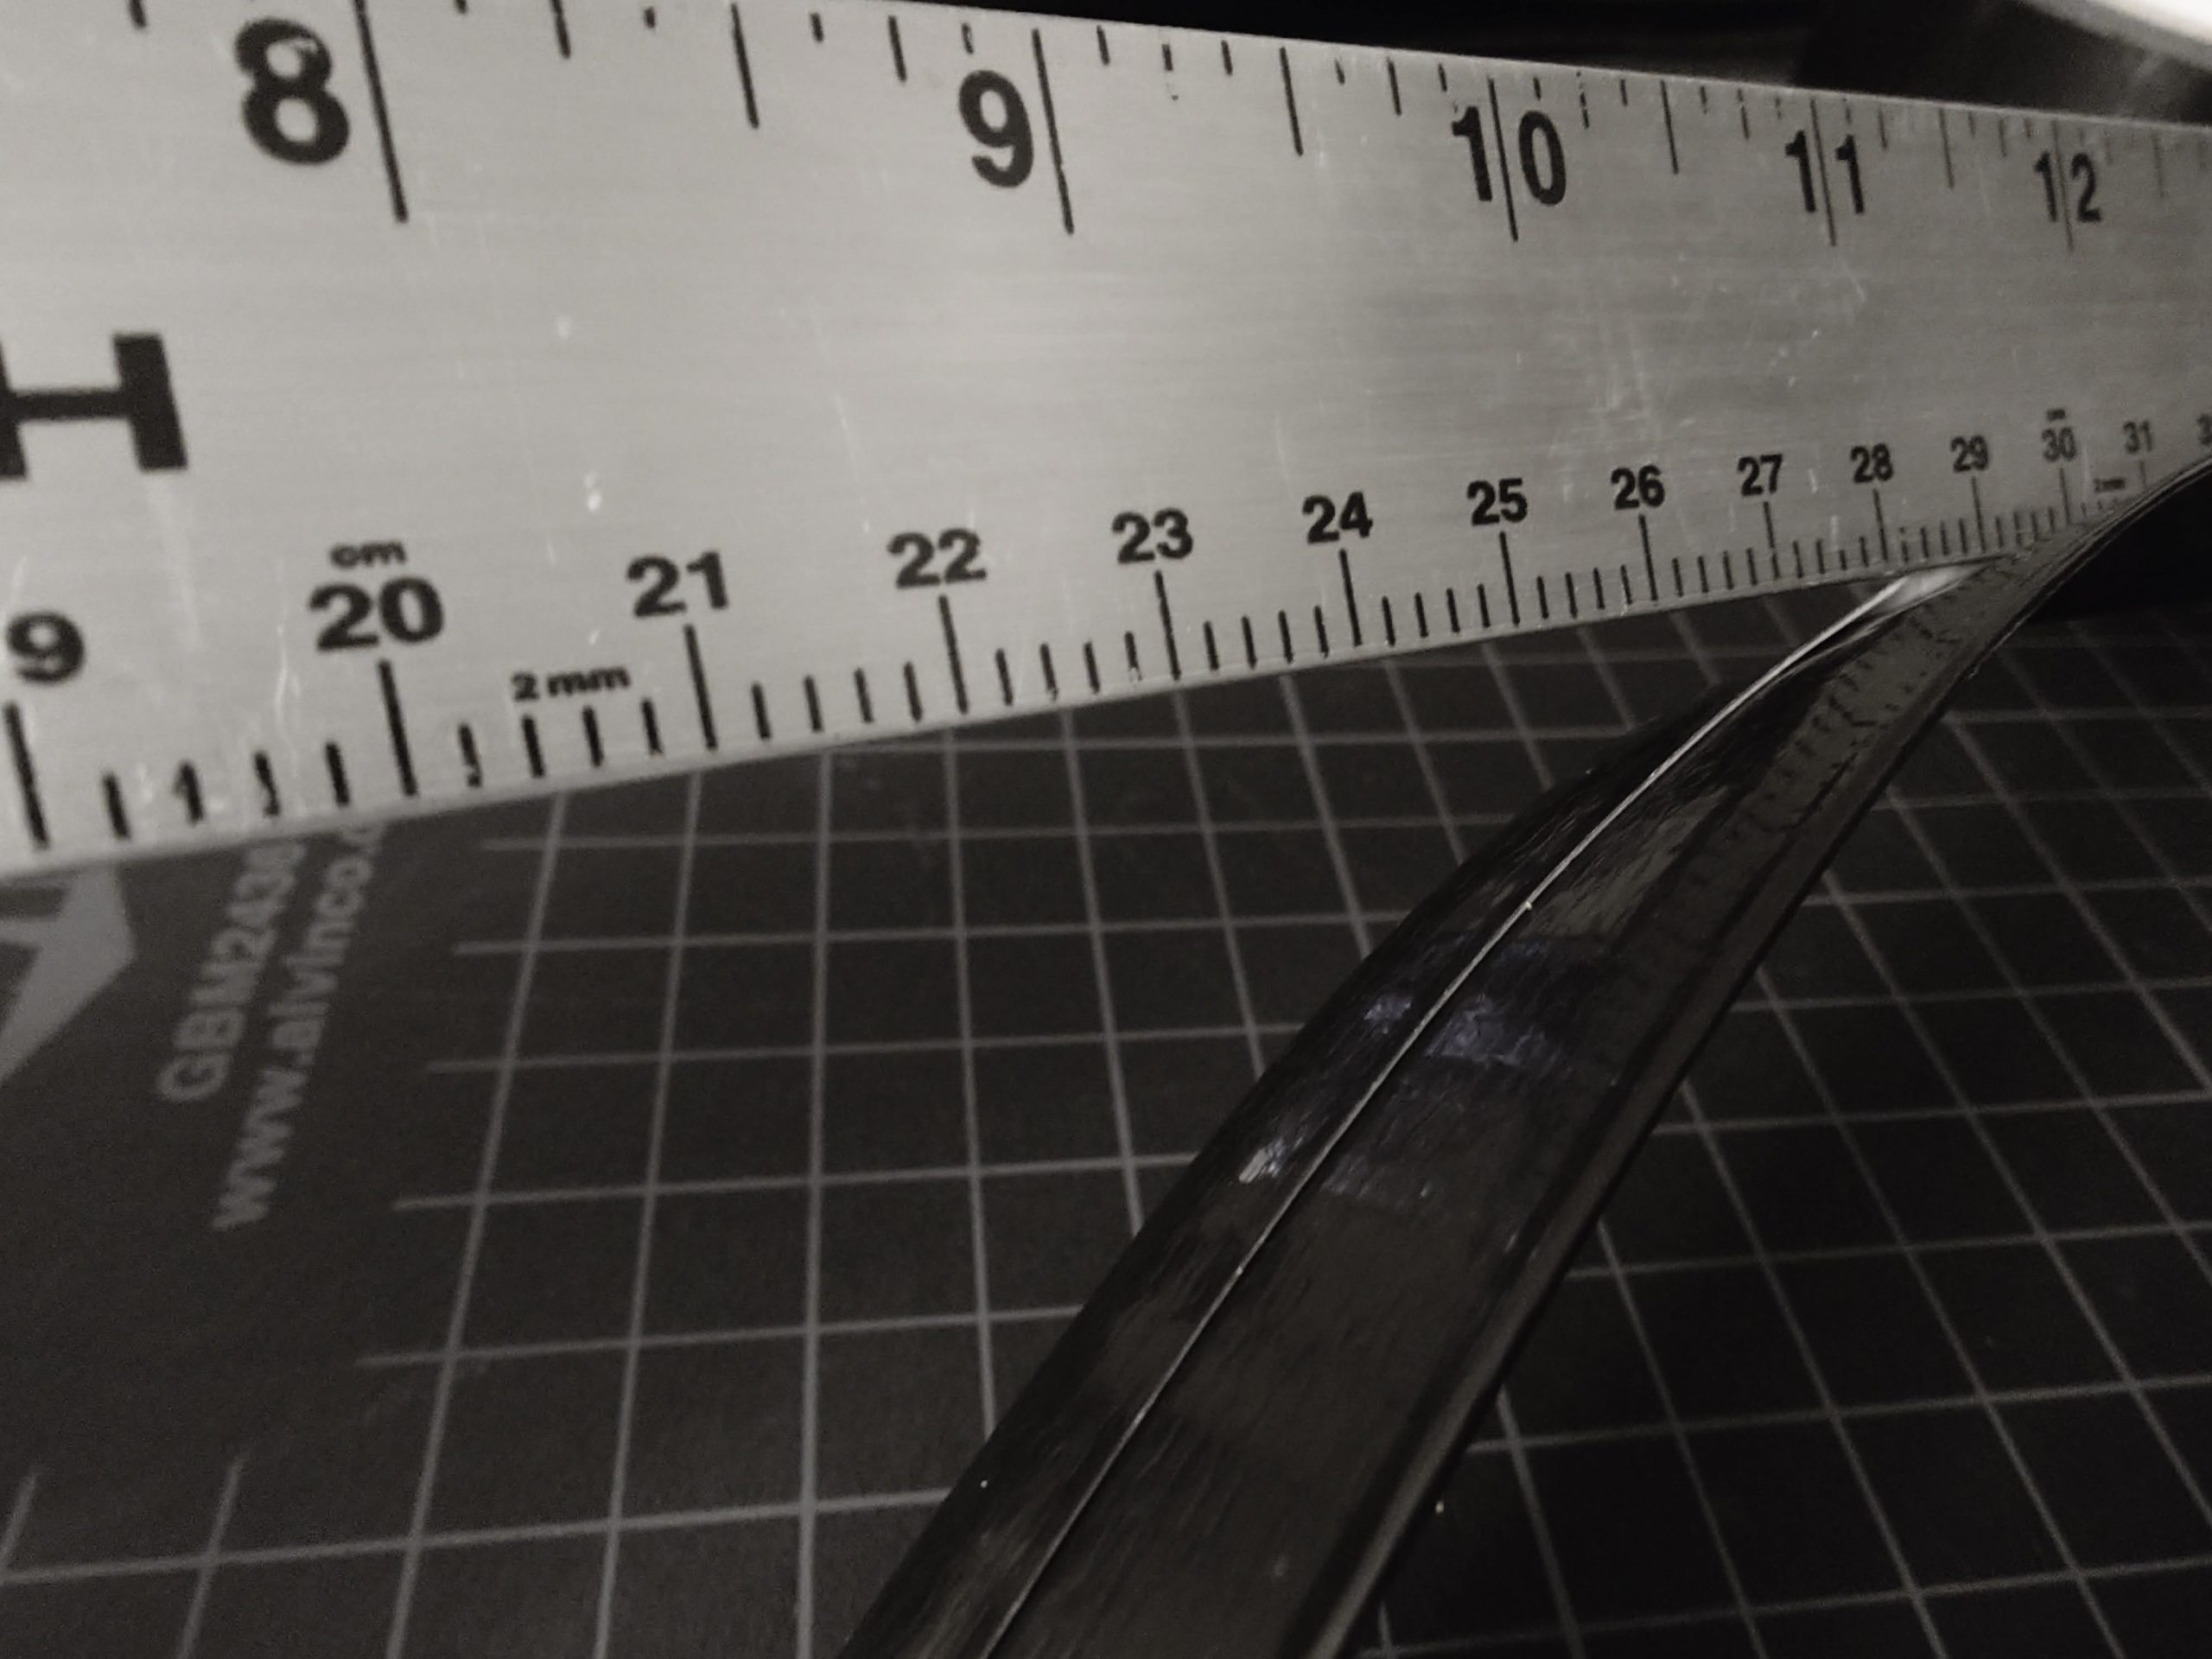
 Step 8: Attach your falls to a new piece of tape at 90° so they are roughly the same length and distance apart. Cutting mat gridlines are your friend. My falls ended up needing a strip about 26 inches long, but it’s ok if yours is several inches different!
IMPORTANT! Keep enough bare tape between falls so it securely sticks to the handle.
 Step 9: Once you’ve laid up all the falls, use your yardstick as a cutting guide to make a straight, long cut across the strip (use extreme caution or a safer object if your yardstick is wood).
 Step 9: Grab your handle! I prepared the end on this with a piece of duct tape to hide the wood dowel. This is only an issue on the cut edge of the dowel, so you can get away with less tape as long as it is secure. The sides will be covered in the next step.
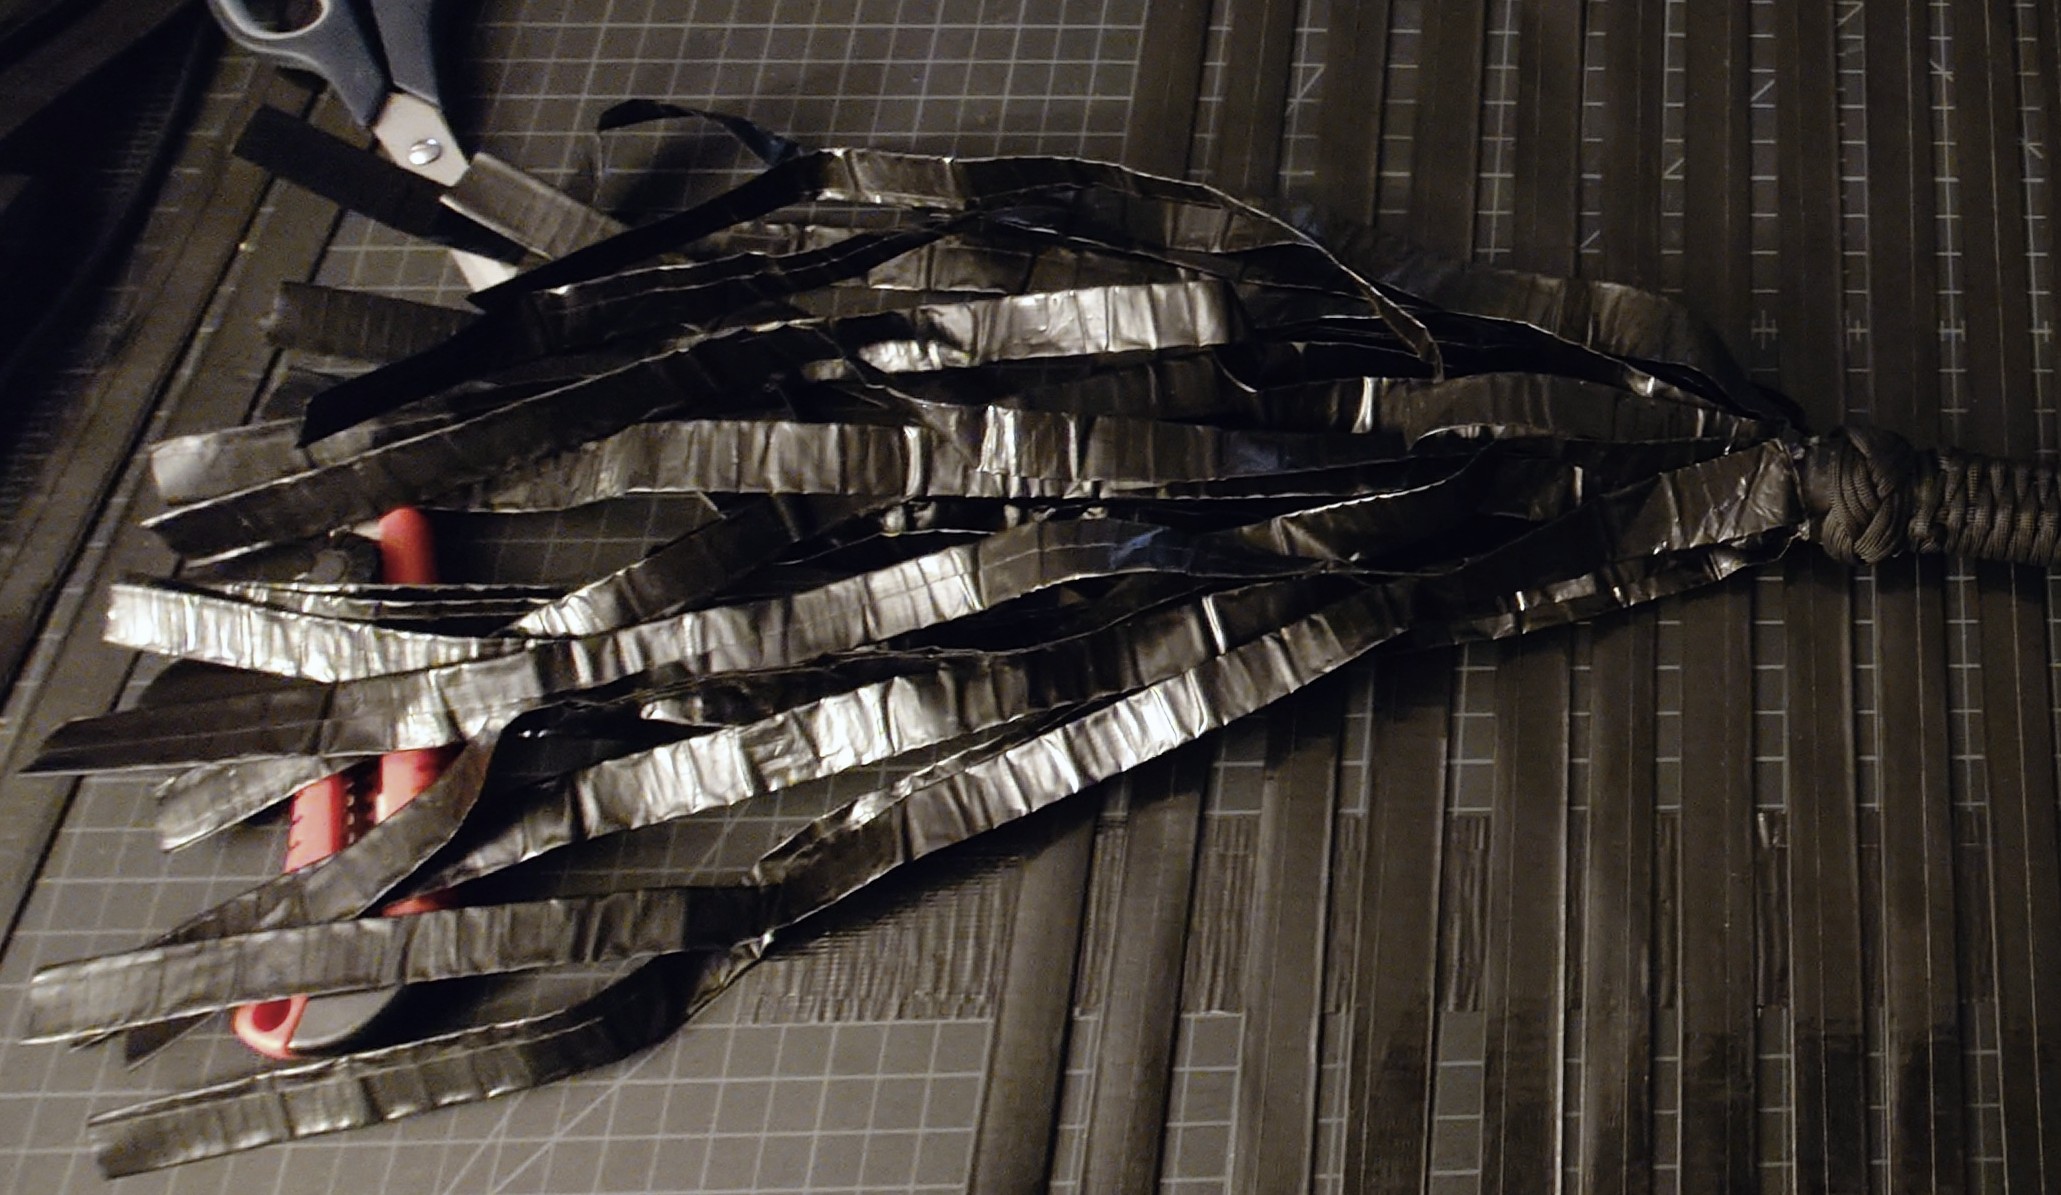
 Step 10: Finally! Roll!
Finishing up
Care
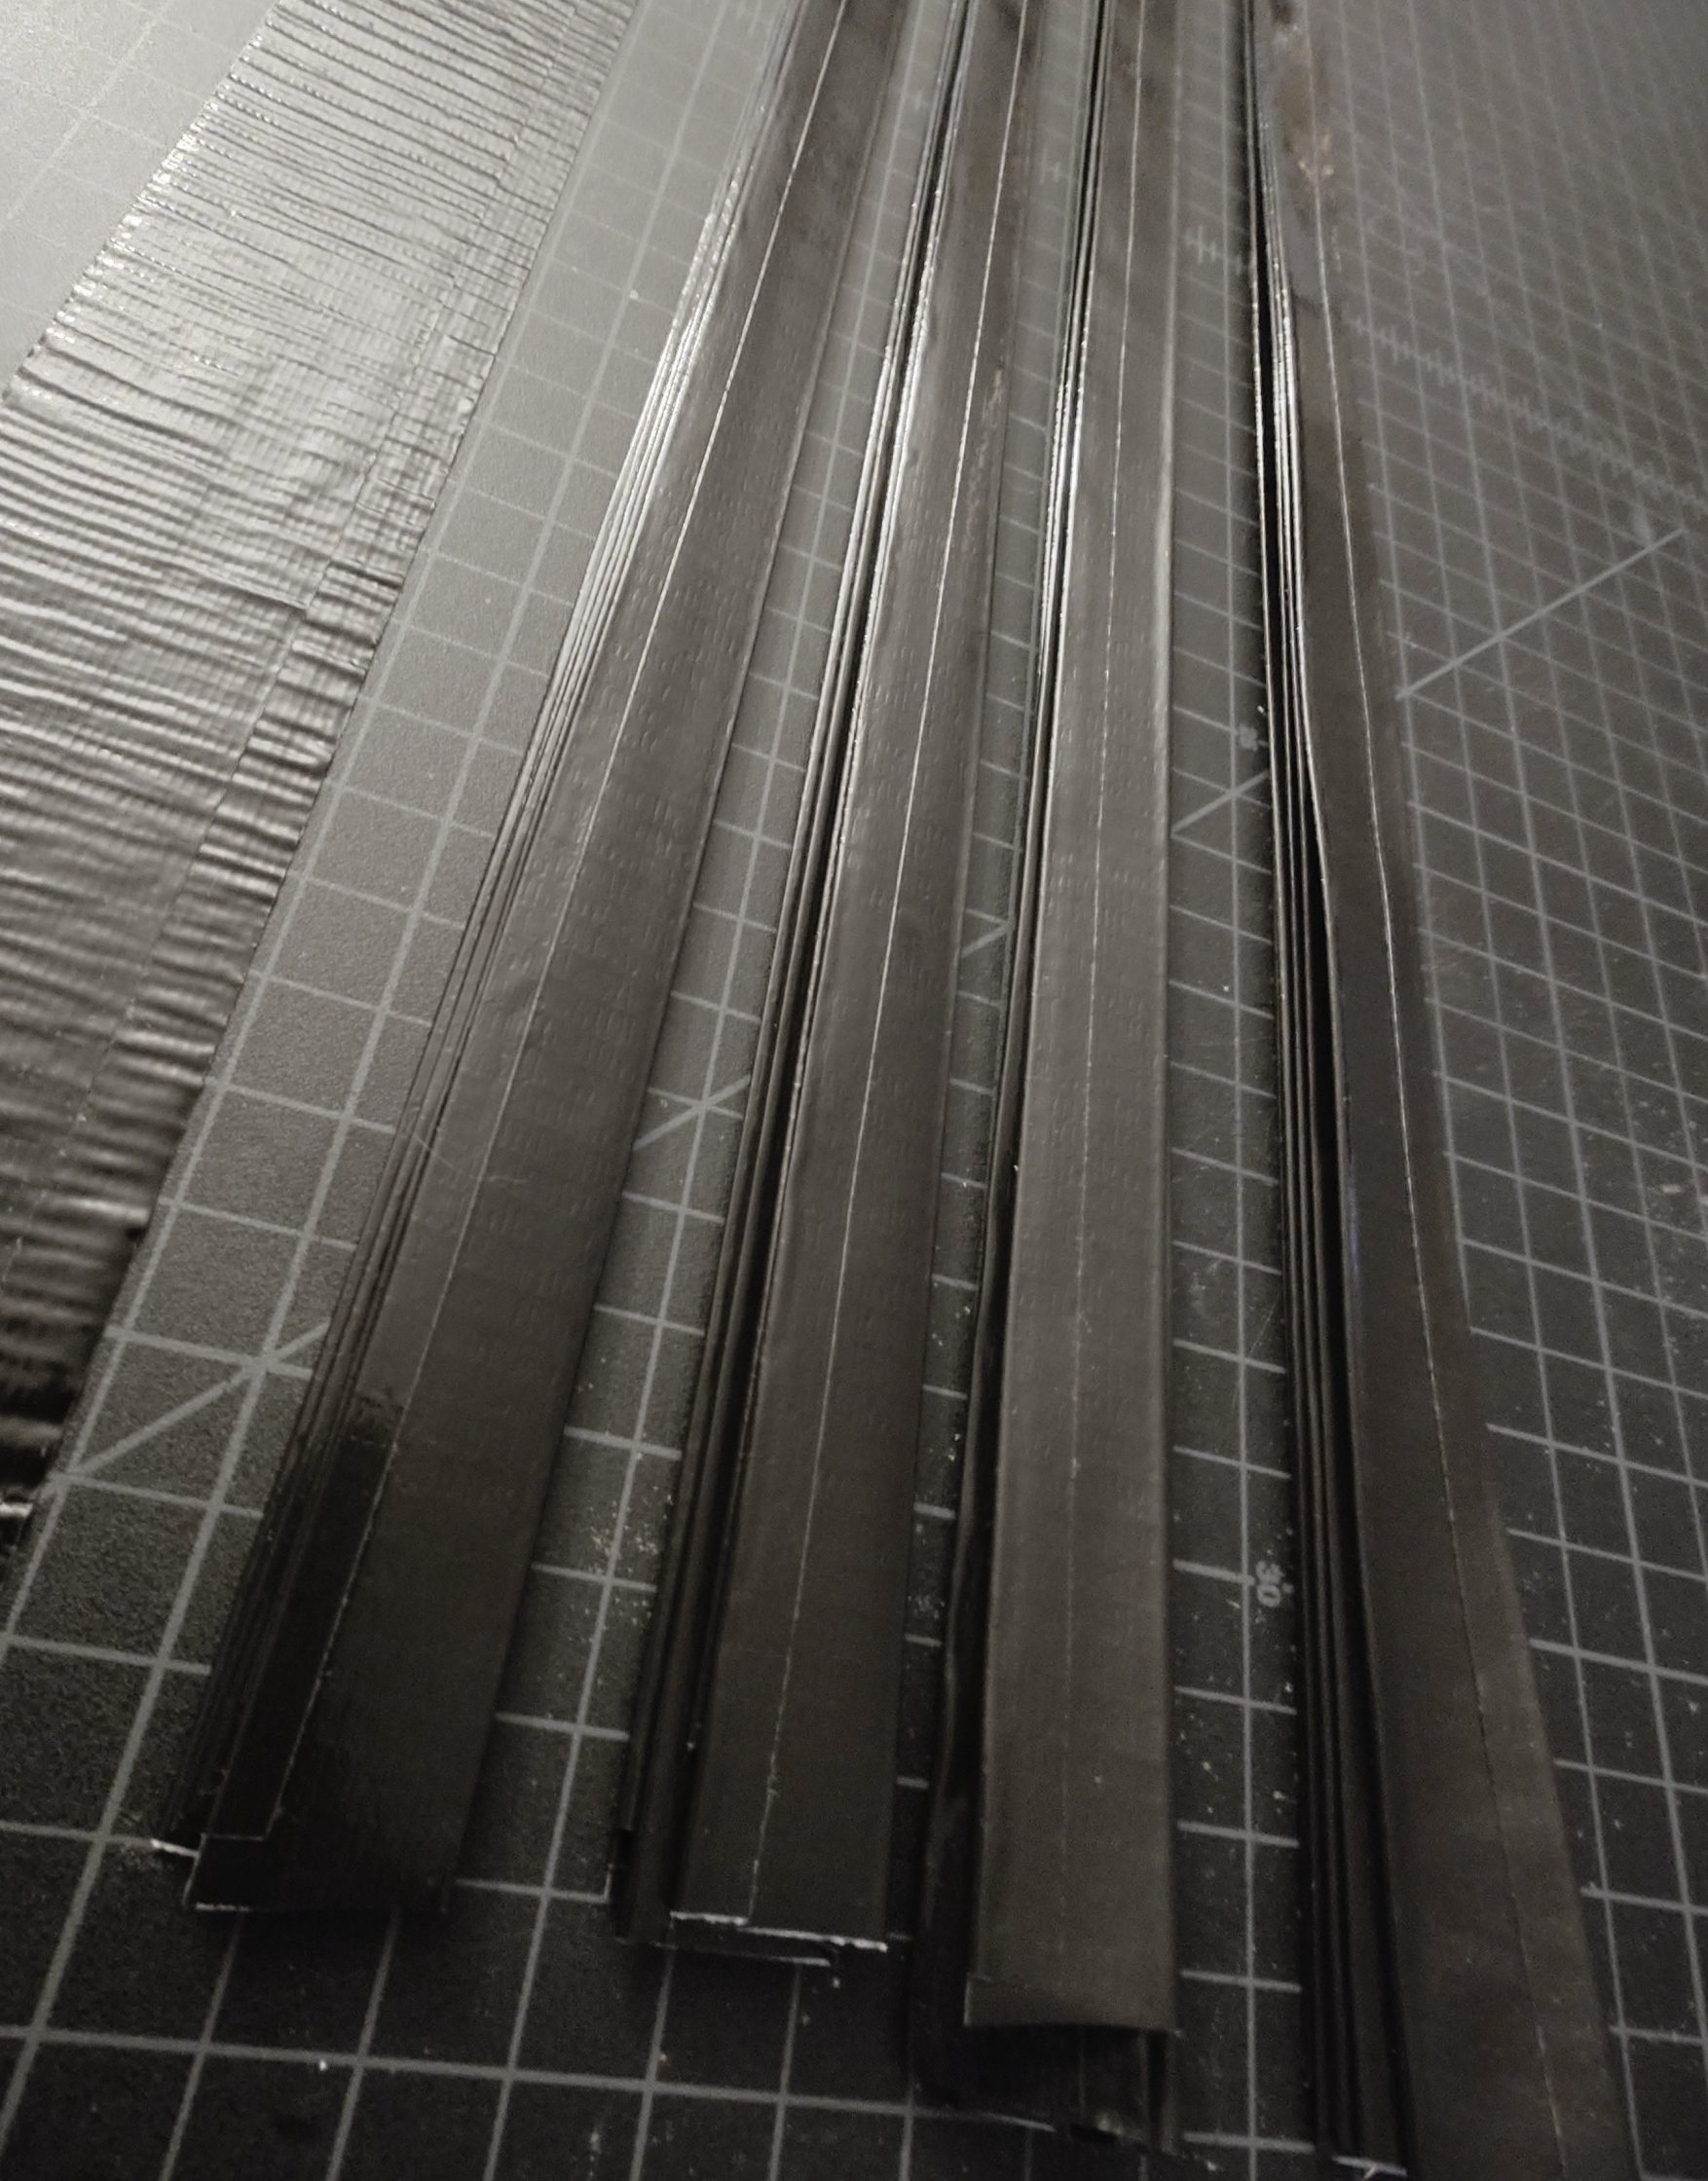
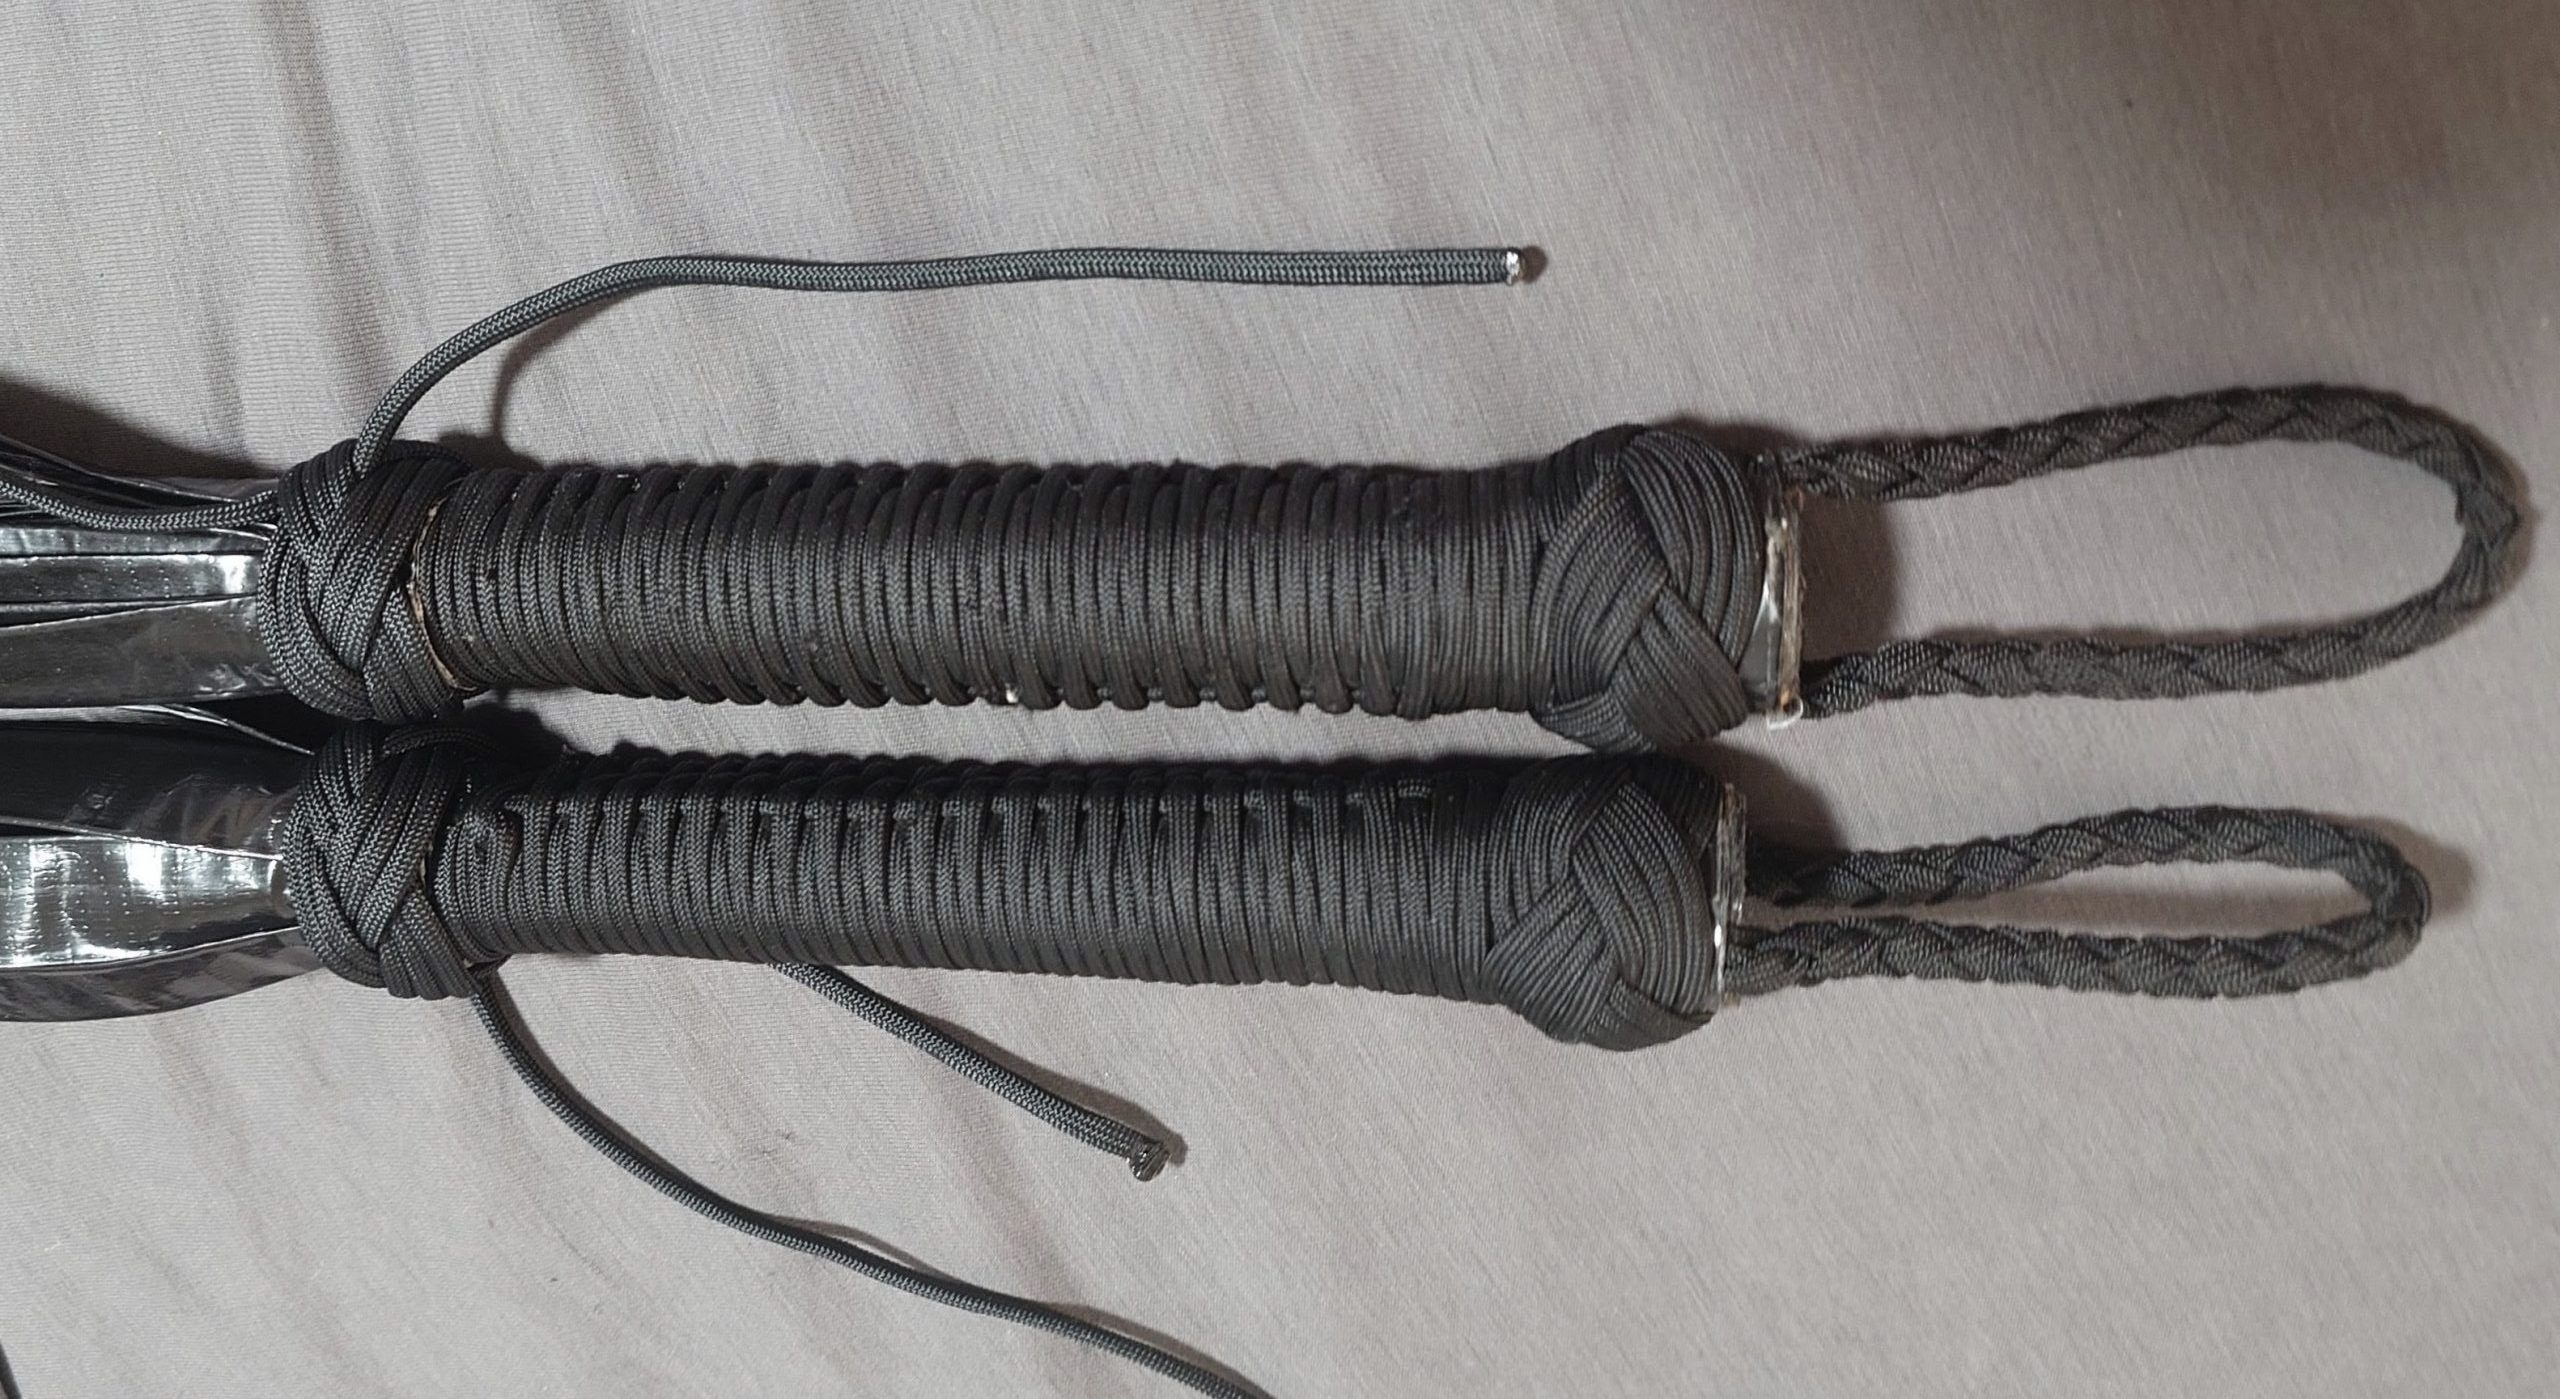
The falls can acquire creases anywhere, and do tend to weaken at the neck when repeatedly stuffed into a bag. I would advise either hanging your new floggers or storing them straight like a cane. This is what happened to my original falls after a decade of folding, crushing, and other abuse (they were also freehanded with cheaper tape).
While falls are easily wiped down between partners, use appropriate risk management and cleaning protocols if falls come into contact with body fluids.